Enabling Bridge Mode With Sercomm AOT-4221SR Router
The AirTel XStream Fiber router has poor wireless coverage and limited device connections. To solve the problem, I decided to bridge the internet connection to a TP Link Archer C80 router. The process involved accessing router settings, enabling bridge mode, and configuring PPPoE configuration.
The router that comes along with the AirTel XStream Fiber has given me no ends of trouble when it came to the wireless coverage and client count. I had to stick close to the Sercomm AOT-4221SR router in my kitchen and ensure that no more than eight devices were connected concurrently while using its services. While I could excuse, to a great extent, manage the compromises as I understood the reason behind such a poor performance, imagine explaining the same to my less tech-savvy family members! Something had to be done about the problem and fortunately, I had a spare TP Link Archer C80 router that I could make use of.
Objective
To bridge the internet connection from the AirTel XStream Fiber router (i.e. Sercomm AOT-4221SR) to the home router (i.e. TP Link Archer C80)
Process
- STEP 1
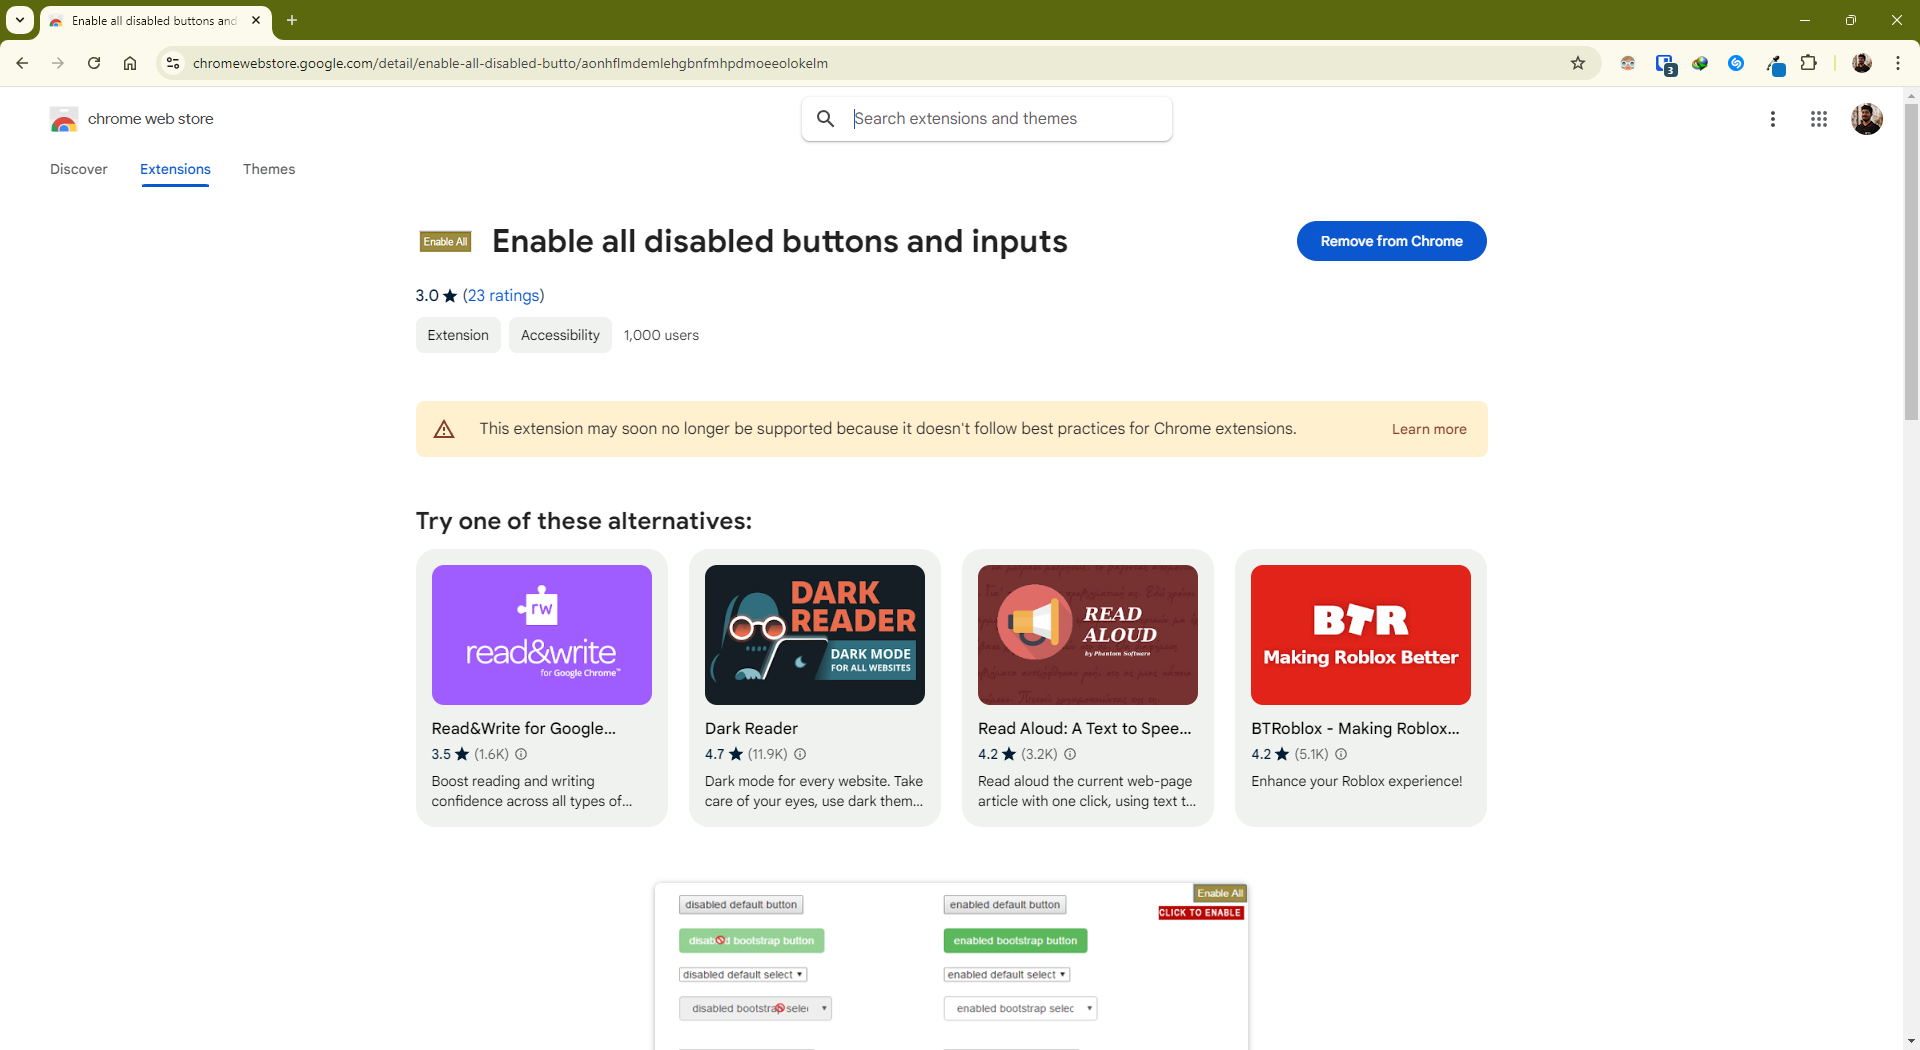
Install the "Enable all disabled buttons and inputs" extension from the Google Chrome web store. This should technically be supported in internet browsers based on the Chromium engine, such as Google Chrome, Microsoft Edge, Opera GX, Brave Browser, etc., but unfortunately not on Mozilla Firefox.
- STEP 2
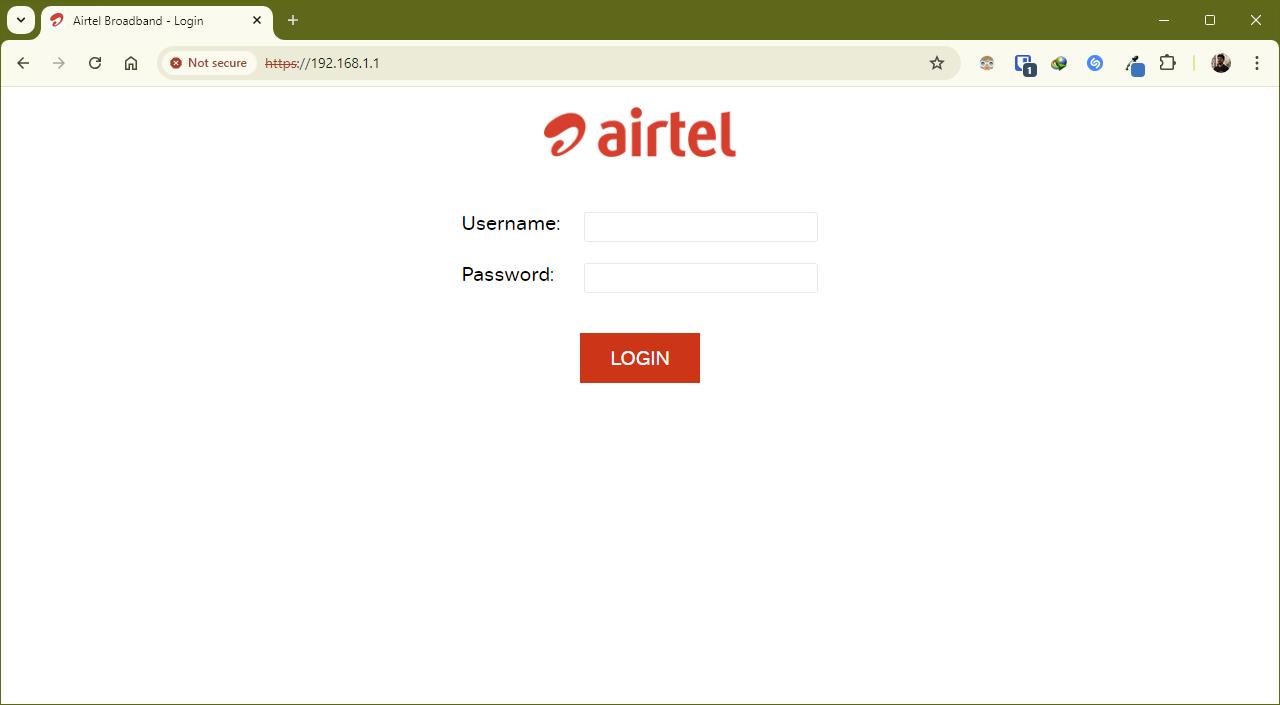
Navigate to the administration console of the AirTel XStream Fiber router (i.e. Sercomm AOT-4221SR) using an internet browser, which is usually located at https://192.168.1.1/. Use the username "admin" (without quotes) and password "admin" (without quotes) to log into the administration console.
- STEP 3
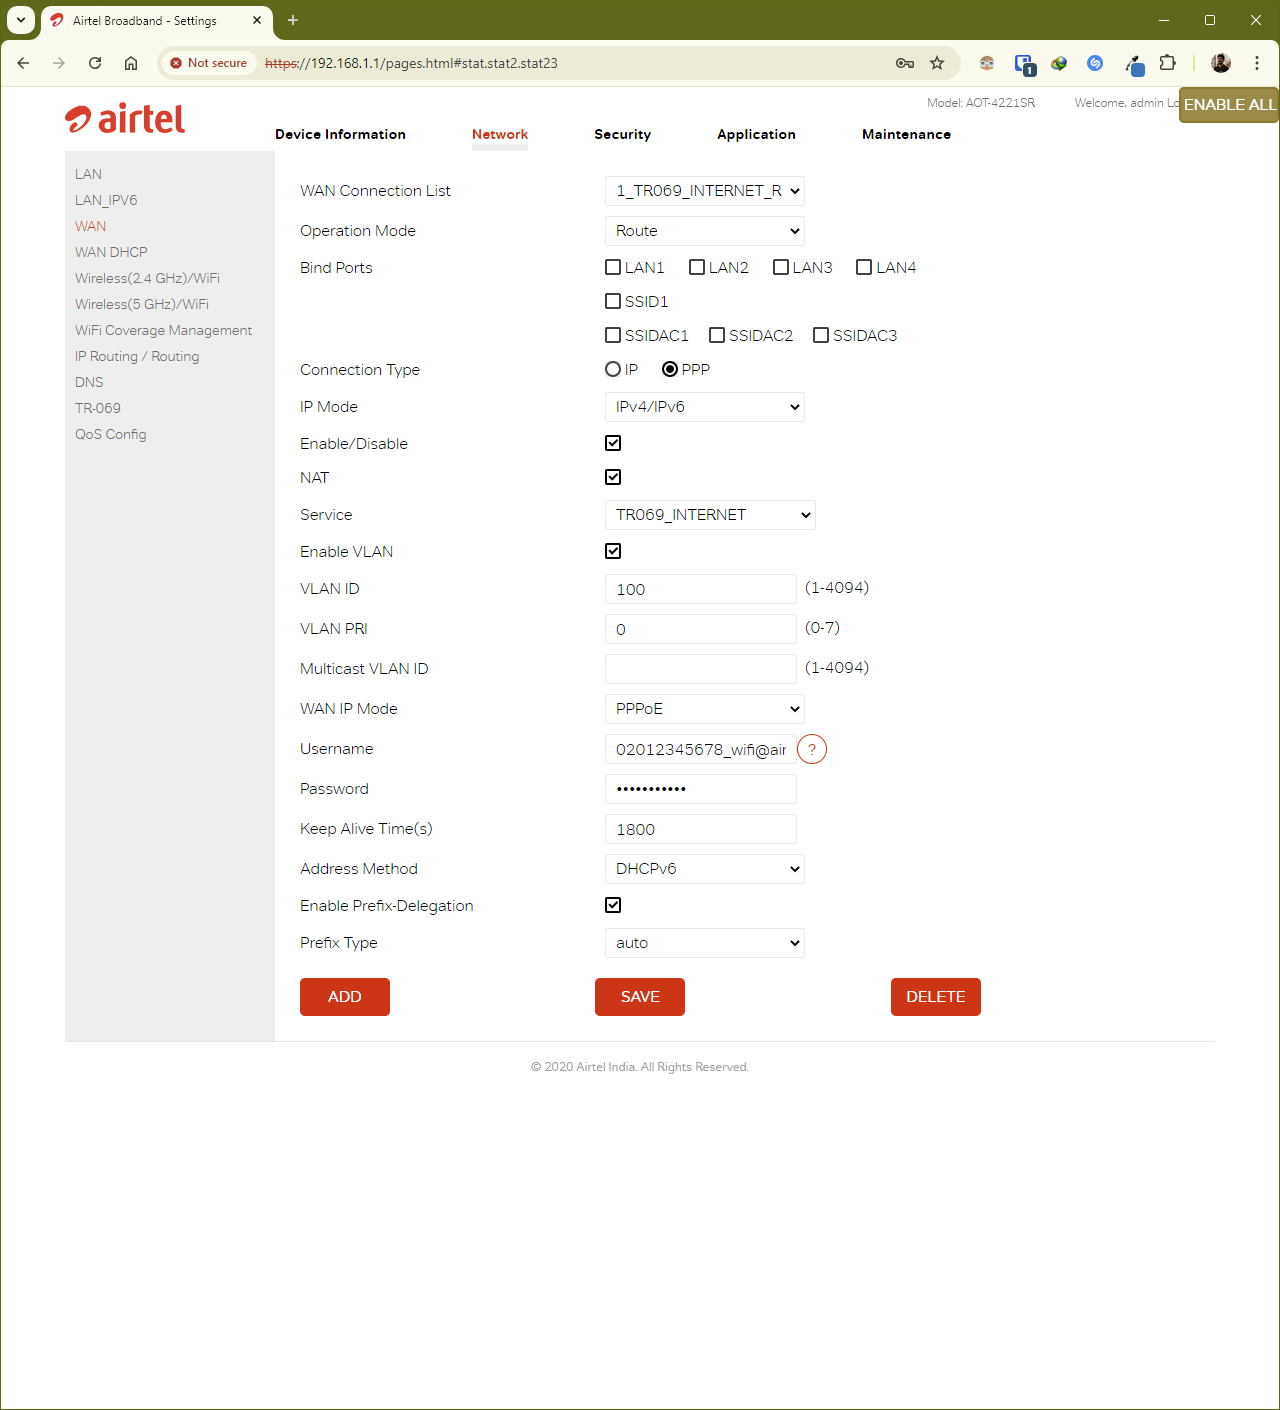
Navigate to the "WAN" section from the "Network" tab after logging into the administration console. Hover on the top right corner of the internet browser's viewport and click on the "ENABLE ALL" button to enable all the elements (eg. dropdowns, checkboxes, and textboxes) on the administration console.
- STEP 4
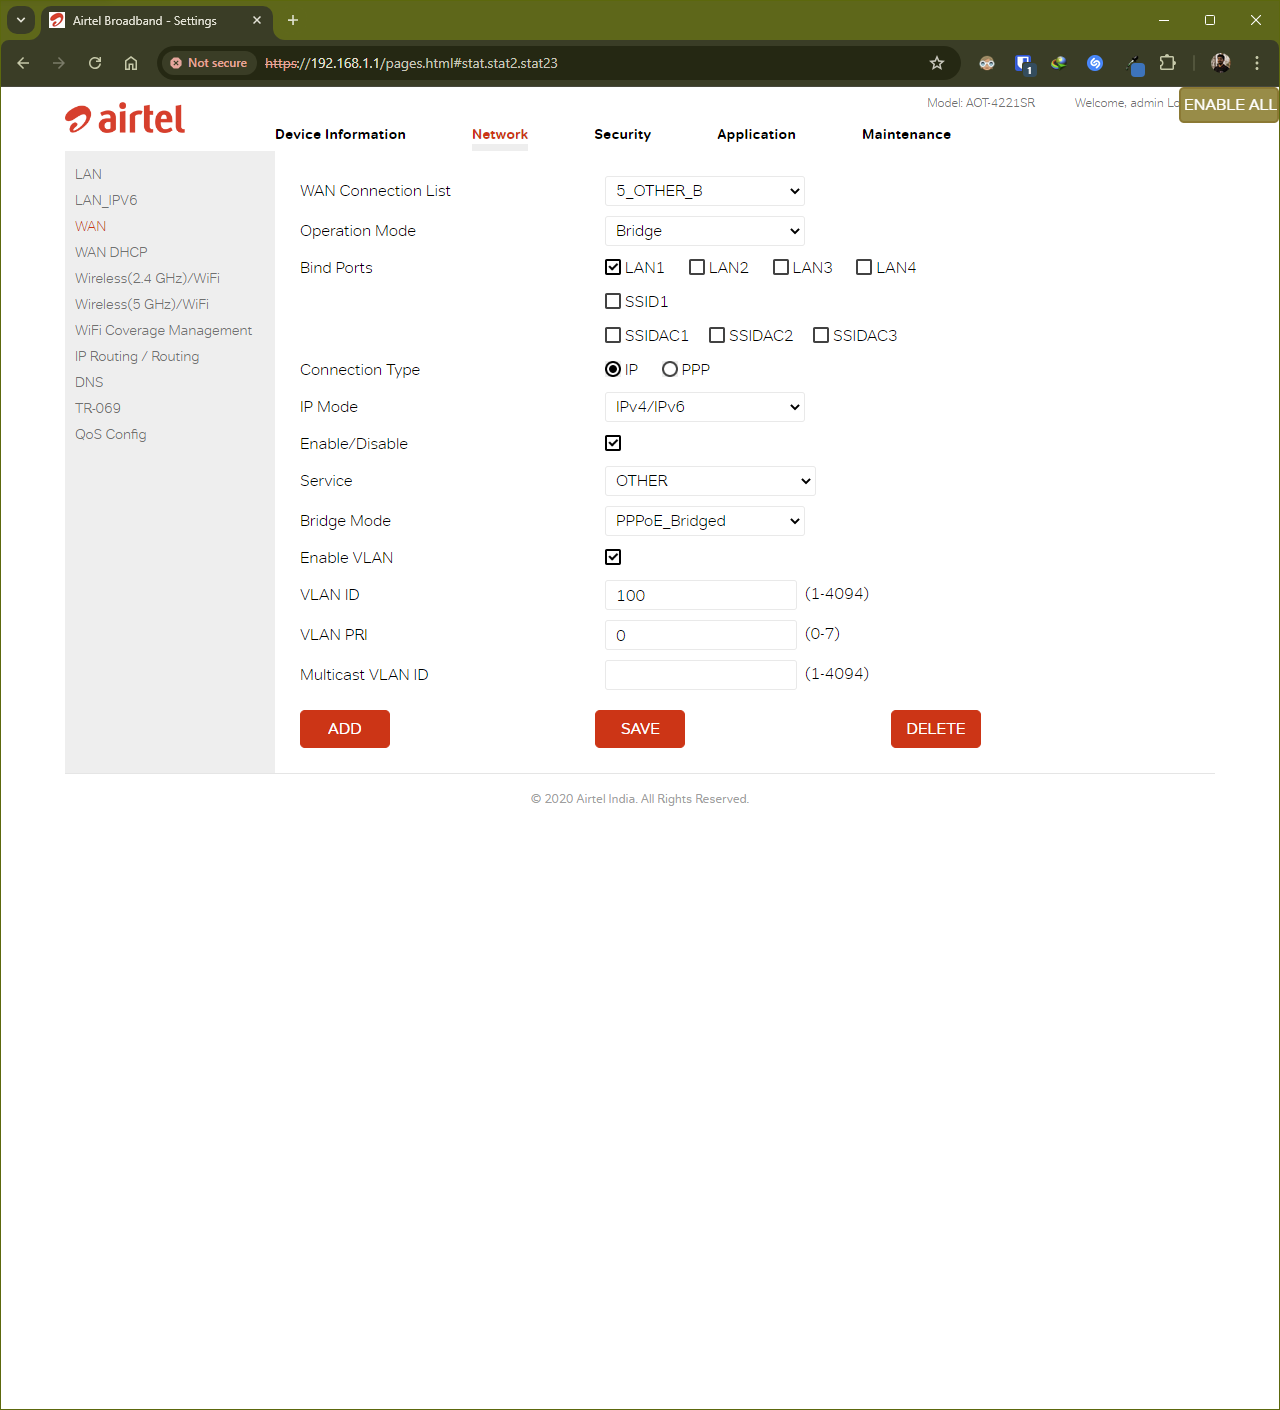
Click on the dropdown beside "WAN Connection List" to select "5_OTHER_B" from the list. This should change the remaining part of the viewport as well with new elements which you must unlock by clicking on the "ENABLE ALL" button again like you did in the previous step.
- STEP 5
Select the following options from the enabled elements and then click on the "SAVE" button at the bottom of the viewport to finish editing the settings.- Operation Mode - "Bridge"
- Bind Ports - "LAN1"
- Connection Type - "IP"
- IP Mode - "IPv4/IPv6"
- Enable/Disable - TRUE
- Service - "OTHER"
- Bridge Mode - "PPPoE_Bridged"
- Enable VLAN - TRUE
- VLAN ID - 100
- VLAN PRI - 0
- Multicast VLAN ID - [EMPTY]
- STEP 6
Connect with AirTel XStream Fiber customer care to obtain the PPPoE username and password to authenticate your internet connection. Once those have been acquired navigate to the administration console of your home router, which is usually located at https://192.168.0.1/ using an internet browser. - STEP 7
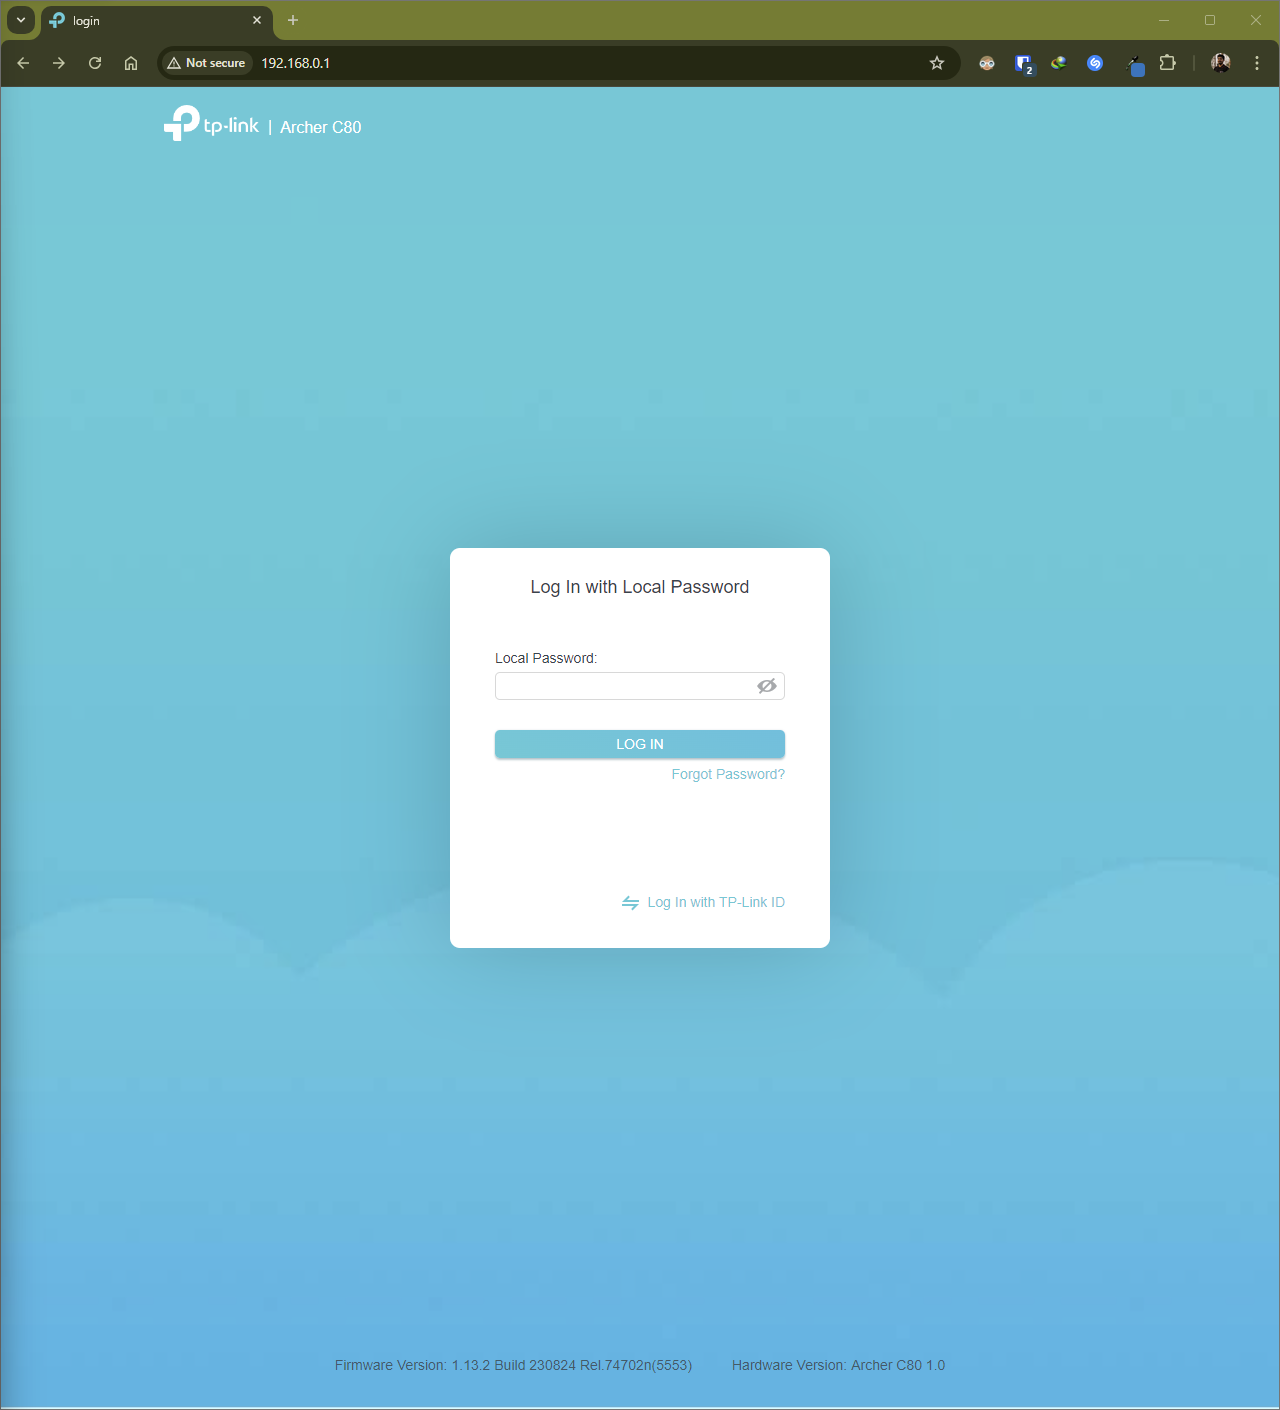
Ensuring that an ethernet cable has been connected from the LAN1 port of the AirTel XStream Fiber router (i.e. Sercomm AOT-4221SR) to the master port of the home router (i.e. TP Link Archer C80), log into the administration console of the home router using the credentials of your device.
- STEP 8
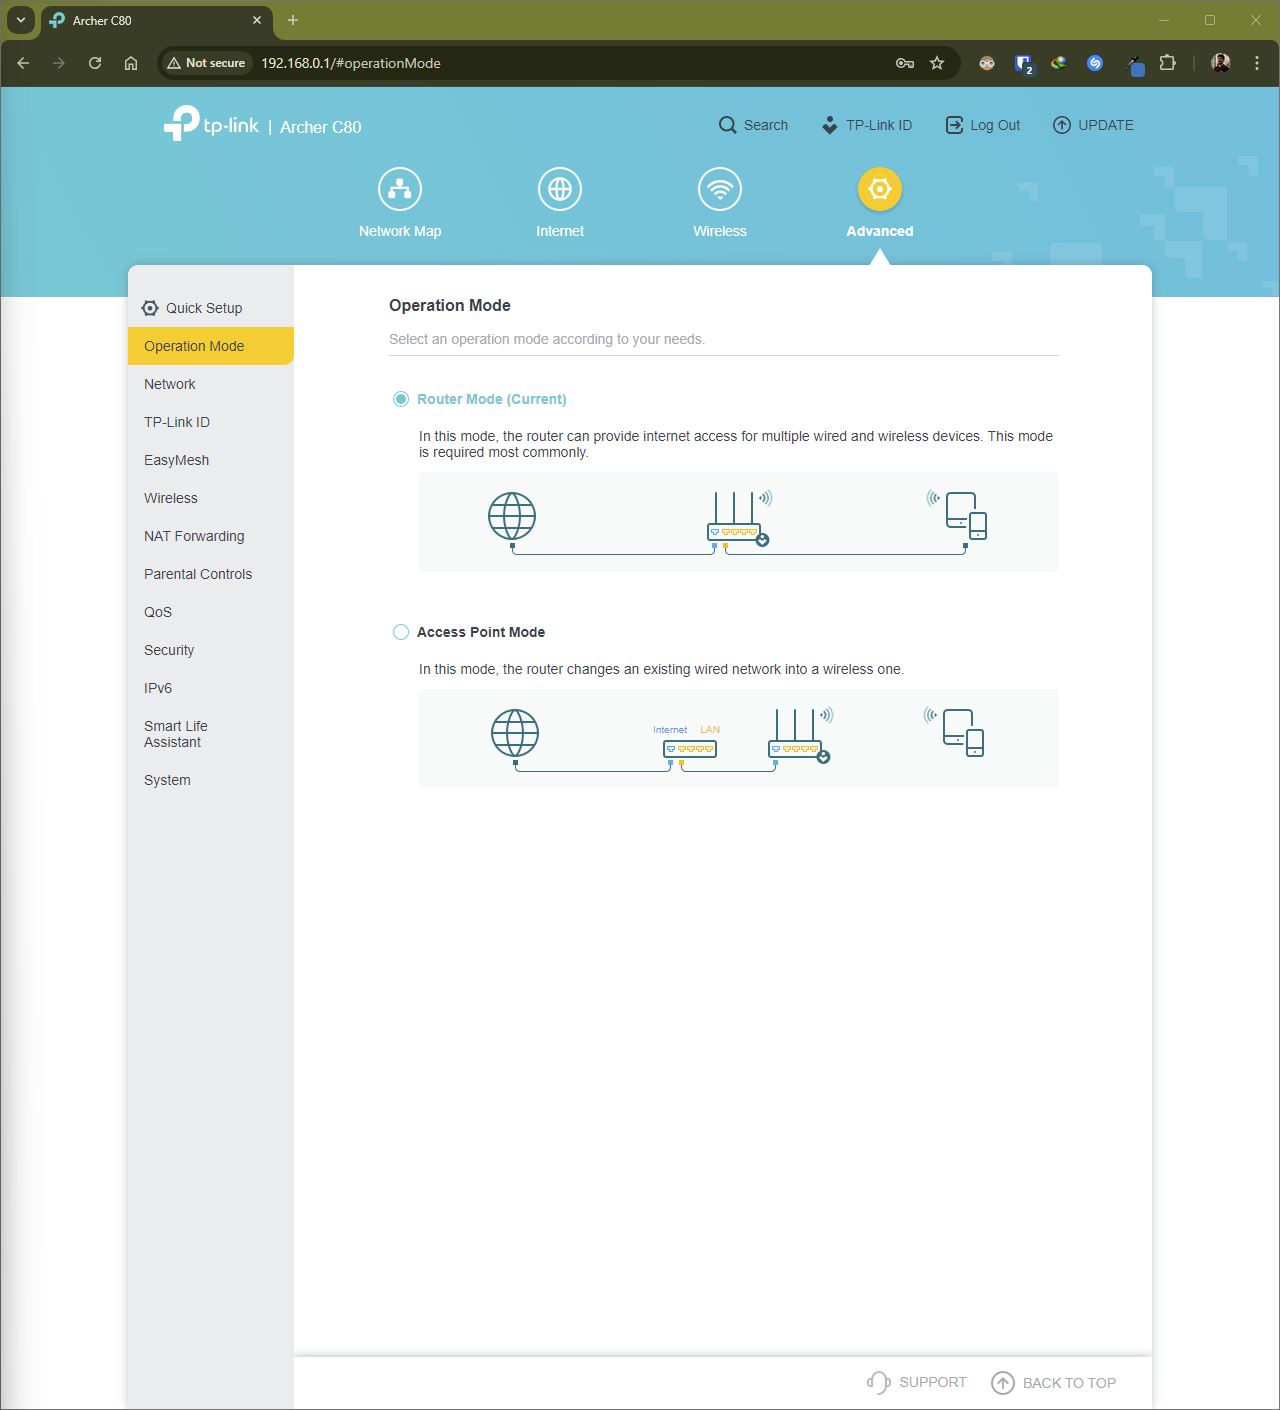
Head over to the "Advanced" tab on the administration console of your home router and ensure that the "Operation Mode" is set to "Router Mode". Changing the Operation Mode will cause the home router to reboot so navigate back to the administration console once the changes have been reflected.
- STEP 9
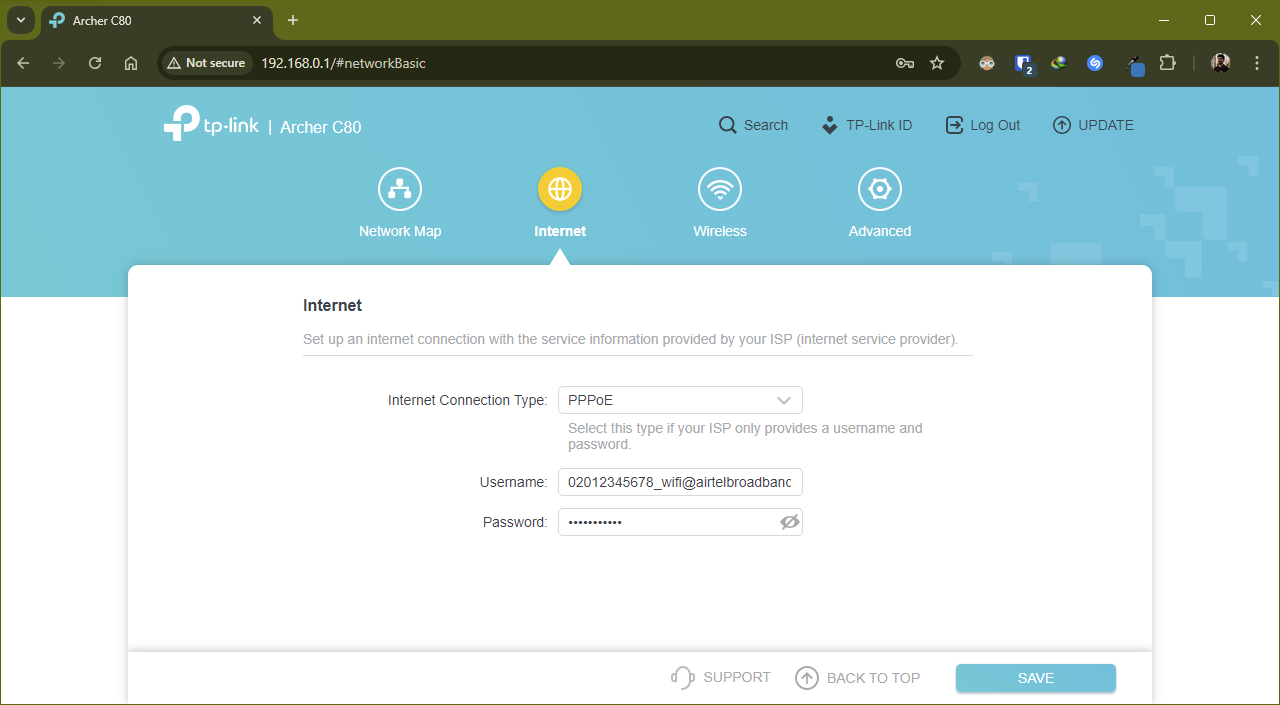
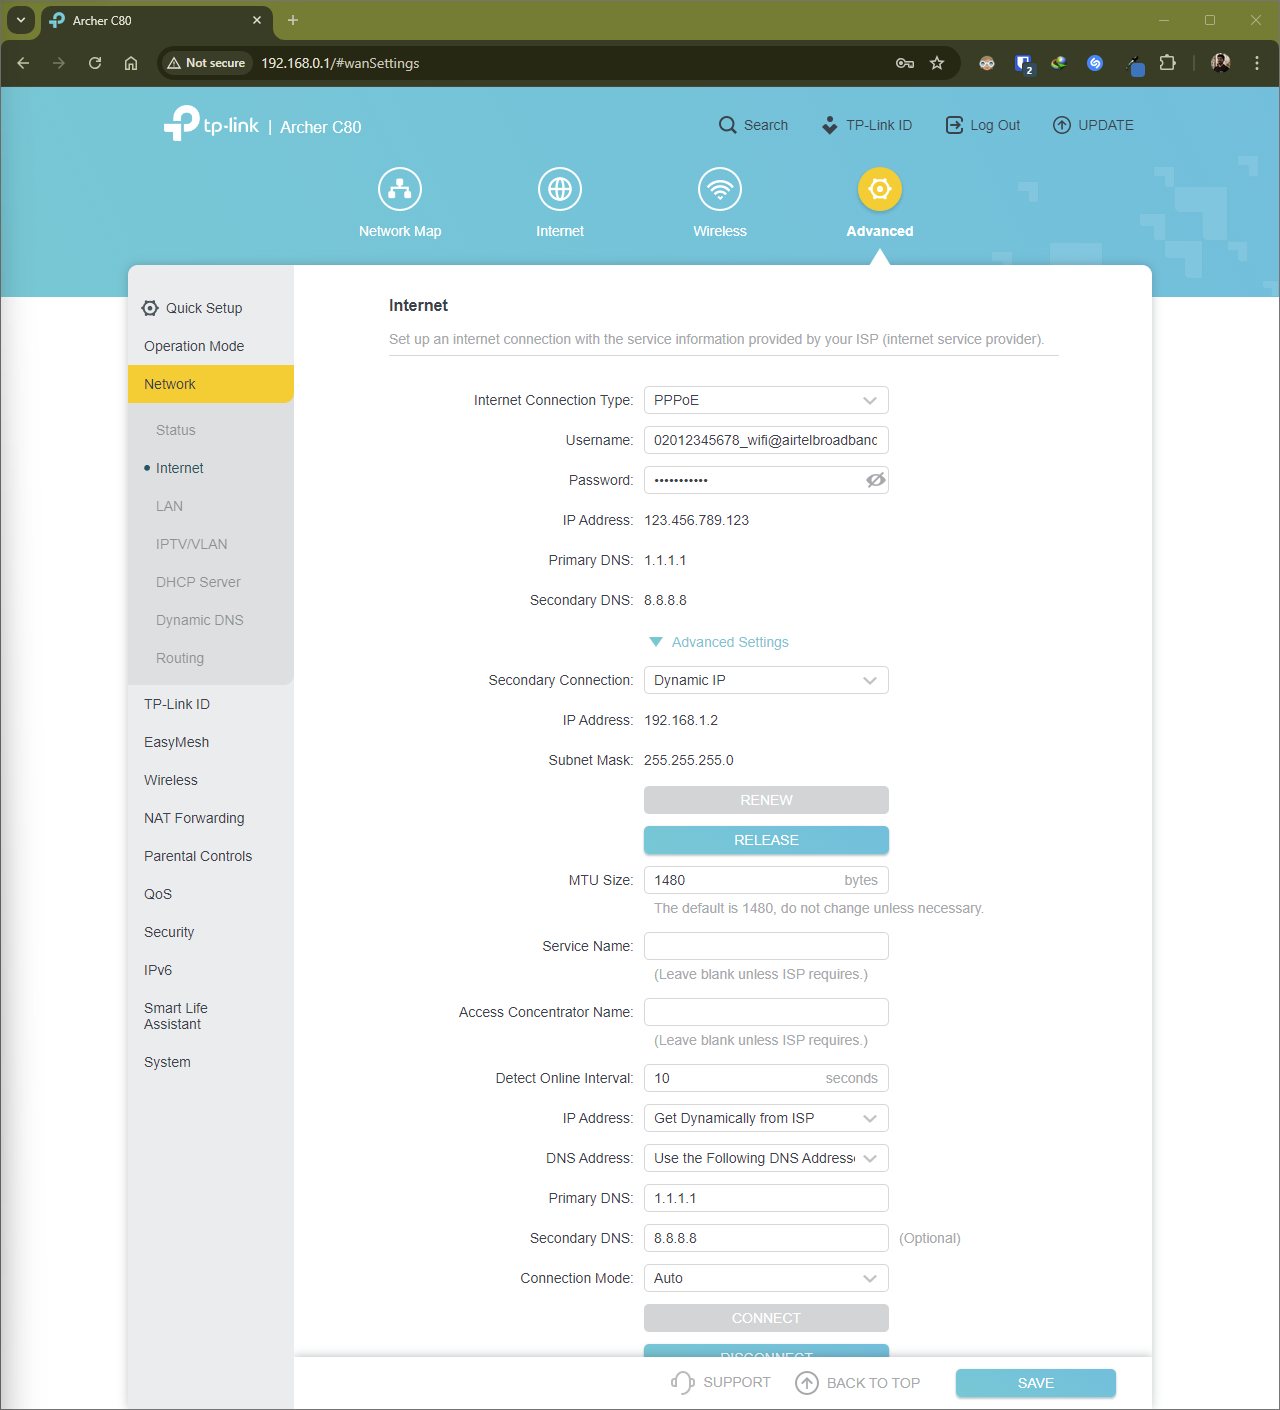
Head over to the "Internet" tab on the administration console of your home router and enter the username and password that were received from the AirTel XStream Fiber customer care after setting the "Internet Connection Type" dropdown to "PPPoE" and click on the "SAVE" button.
- STEP 10
Head over to the "Internet" section of the "Network" group under the "Advanced" tab and change these before clicking on the "SAVE" button.- Primary DNS - "1.1.1.1" or any other DNS of your choice
- Secondary DNS - "8.8.8.8" or any other DNS of your choice
- Secondary Connection - "Dynamic IP"
- IP Address - "Get Dynamically from ISP"
- Connection Mode - "Auto"
- STEP 11
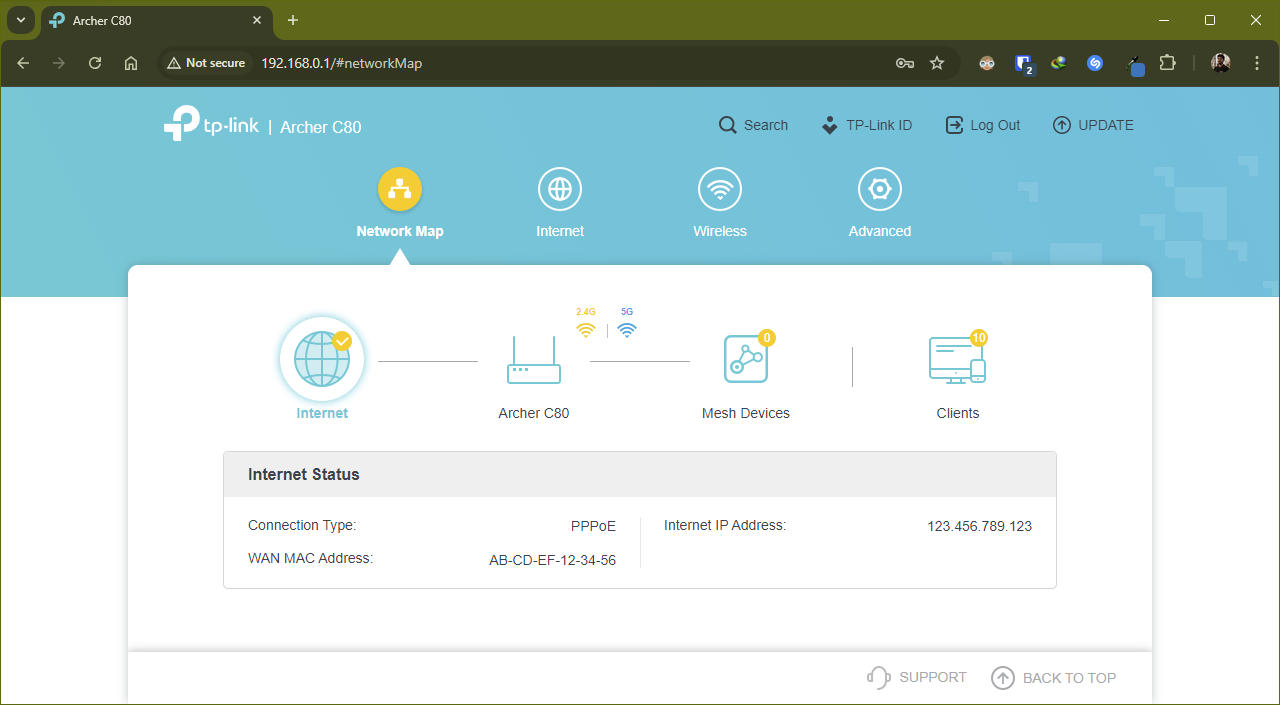
Head over to the "Network Map" tab on the administration console of your home router. If all the configurations are done correctly, the internet connection should be established and you should be able to see a checkmark icon beside the globe icon and a designated IP address displayed.
- STEP 12
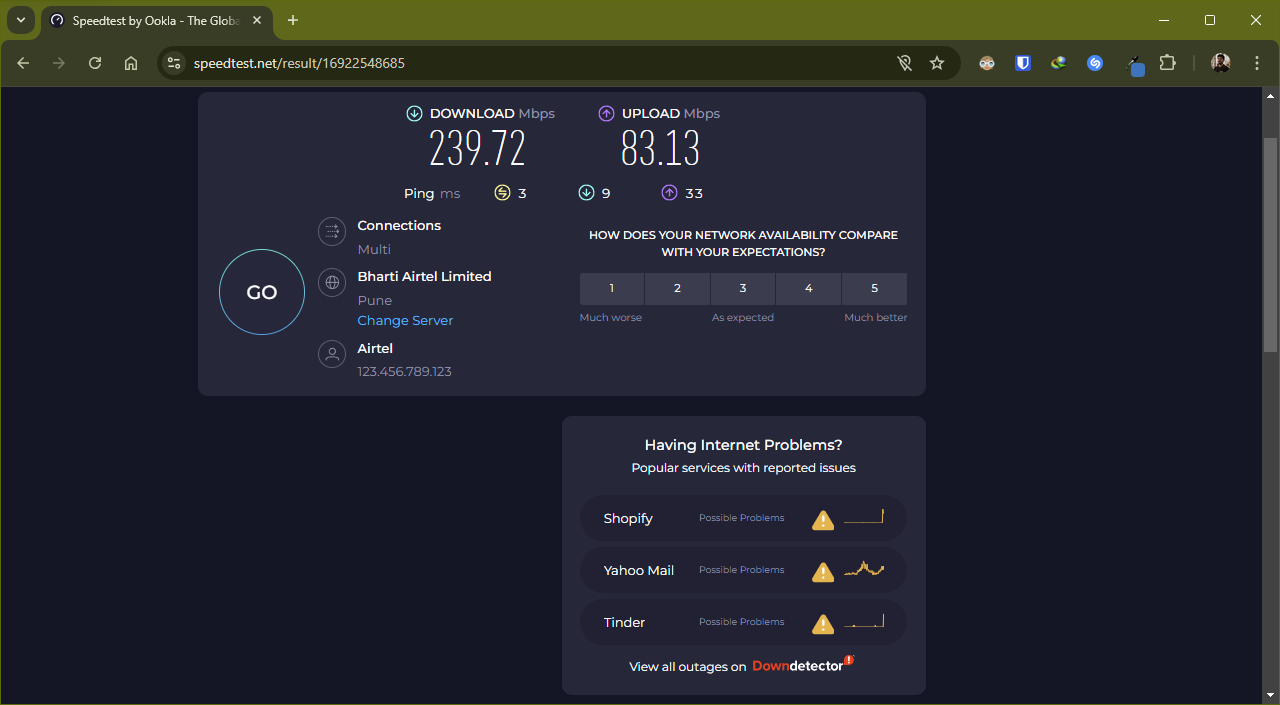
You should now be able to connect to the internet without worrying about the double NAT problems that would have crept in as a consequence of having the AirTel XStream Fiber router assign an IP address to the home router - check your speeds and latencies on platforms like https://speedtest.net/.
Conclusion
Depending on how locked the firmware of the AirTel XStream Fiber router (i.e. Sercomm AOT-4221SR) might get going forward and how available the aforementioned internet browser extension can be down the road, the steps mentioned here might require further curation and troubleshooting.