Playing Around With Mkosi - Part III
This covers the third part of my experiences of descending down the rabbit hole of exploring the nifty tool for generating bespoke operating system images called mkosi. In this part, I will boot the generated image as a virtual machine using the QEMU/KVM hypervisor and helpers like virt-install.

Intro
Now that I have successfully booted up the generated operating system image of the Fedora Linux distribution as a container using systemd-nspawn in the previous part, it is time to boot it up as a virtual machine using QEMU/KVM. This article covers three ways in which one can use a generated image as a virtual machine.
How-to
Before getting started with the actual steps required to boot the generated operating system image as a virtual machine, I installed the necessary software for running virtual machines from the official repositories of Fedora Linux. I also ensured that the virtualization capabilities were enabled in the processor used.
- STEP 1
Ensure that the following capabilities are enabled from the BIOS settings to be able to use hardware virtualization.
AMD-V if an AMD processor is used on the virtual machine host VT-X if an Intel processor is used on the virtual machine host- STEP 2
Execute the following command to installlibvirt,virt-installandqemuwithout the nice-to-have dependencies.
$ sudo dnf install qemu libvirt virt-install --setopt=install_weak_deps=False- STEP 3
Enable the libvirt service daemon by executing the following command and starting it up at the same time.
$ sudo systemctl enable --now libvirtd.service- STEP 4
Download and install a VNC client software (e.g. Remmina) of your choice by executing the following command.
$ sudo dnf install remmina --setopt=install_weak_deps=False- STEP 5
Ensure that the directory where the operating system image was generated is the current working directory.
$ cd fedogrid$ ls -lhatotal 1.6G
drwxr-xr-x. 2 gridhead gridhead 4.0K Sep 2 17:51 .
drwxr-xr-x. 12 gridhead gridhead 4.0K Aug 25 09:20 ..
lrwxrwxrwx. 1 gridhead gridhead 18 Sep 2 17:51 fedogrid -> fedogrid_0.1.0.raw
-rw-r--r--. 1 gridhead gridhead 146M Sep 2 17:51 fedogrid_0.1.0.efi
-rw-r--r--. 1 gridhead gridhead 24K Sep 2 17:51 fedogrid_0.1.0.manifest
-rw-r--r--. 1 gridhead gridhead 1.8G Sep 2 17:51 fedogrid_0.1.0.raw
-rw-r--r--. 1 gridhead gridhead 259 Sep 2 17:51 fedogrid_0.1.0.SHA256SUMS
-rwxr-xr-x. 1 gridhead gridhead 14M Sep 2 17:51 fedogrid_0.1.0.vmlinuz
lrwxrwxrwx. 1 gridhead gridhead 30 Sep 2 17:51 fedogrid-initrd -> fedogrid-initrd_0.1.0.cpio.zst
-rw-r--r--. 1 gridhead gridhead 40M Sep 2 17:51 fedogrid-initrd_0.1.0.cpio.zst
-rw-r--r--. 1 gridhead gridhead 518 Sep 2 17:47 mkosi.conf
As service
The following method can be used to run the generated operating system image as a virtual machine service.
From virt-install
- STEP 1
Download a minimal Fedora Server ISO for using it as a placeholder booting disk on the first boot using virt-install.
$ wget https://download.fedoraproject.org/pub/fedora/linux/releases/38/Server/x86_64/iso/Fedora-Server-dvd-x86_64-38-1.6.iso- STEP 2
Create a basic shell script file namedfedogrid.shfor the virt-install configuration using a text editor of your choice.
$ nano fedogrid-virt.sh#!/bin/sh
sudo \
virt-install \
--virt-type kvm \
--os-variant fedora-unknown \
--arch x86_64 \
--name fedogrid \
--memory 4096 \
--cpu host-passthrough \
--vcpus 8 \
--disk /home/virthost/projects/fedogrid/fedogrid.raw \
--cdrom /home/virthost/projects/fedogrid/Fedora-Server-dvd-x86_64-38-1.6.iso \
--graphics vnc,listen=0.0.0.0,port=5940 \
--network default \
--boot uefi- STEP 3
Power on the virtual machine and register it with the libvirt daemon by executing the following command.
$ sh fedogrid-virt.shWARNING Unable to connect to graphical console: virt-viewer not installed. Please install the 'virt-viewer' package.
WARNING No console to launch for the guest, defaulting to --wait -1
Starting install...
Creating domain...
Domain is still running. Installation may be in progress.
Waiting for the installation to complete.- STEP 4
Press the following key combination to abort the execution as we only want to register the virtual machine.
Ctrl + C- STEP 5
Execute the following command to power on the virtual machine which is now registered with the libvirt daemon.
$ sudo virsh start fedogrid- STEP 6
Use Remmina (or any other VNC client software) to connect to the display of the running virtual machine.
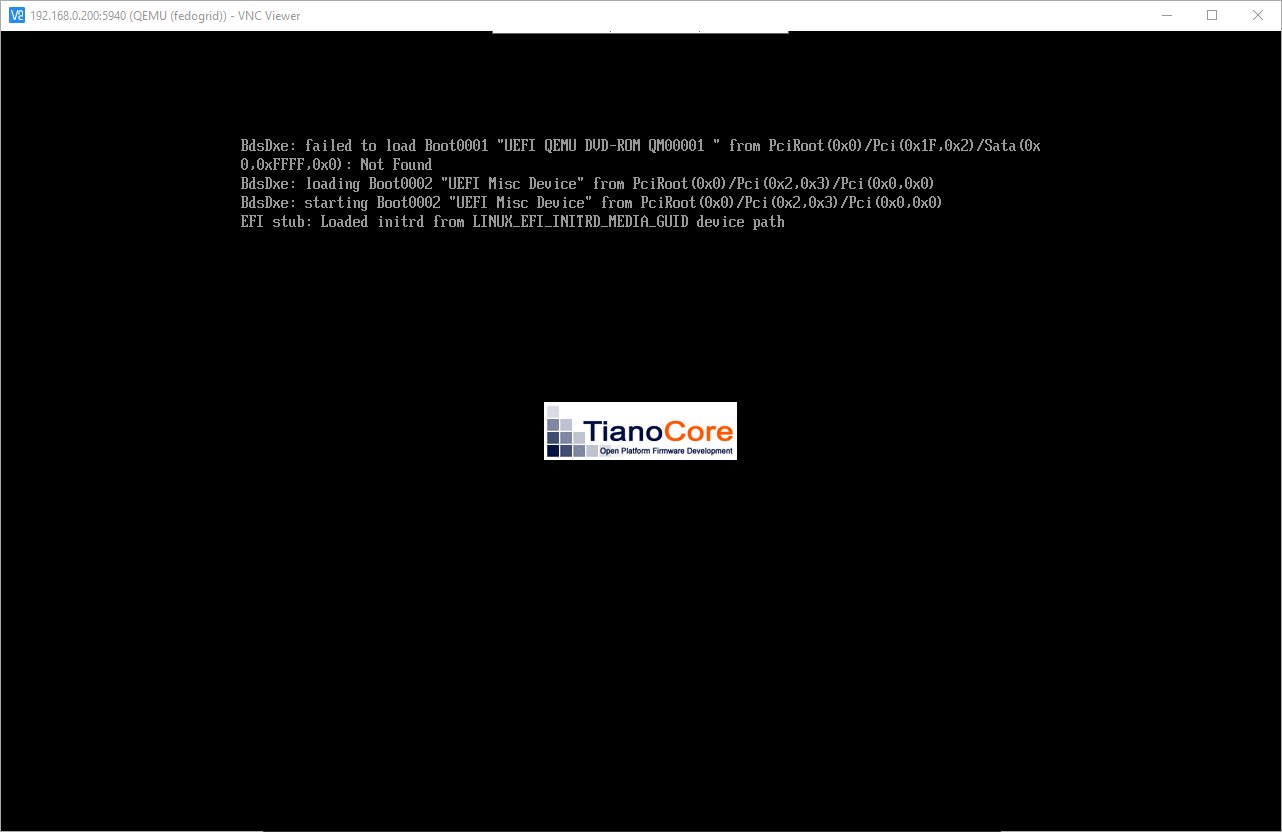
- STEP 7
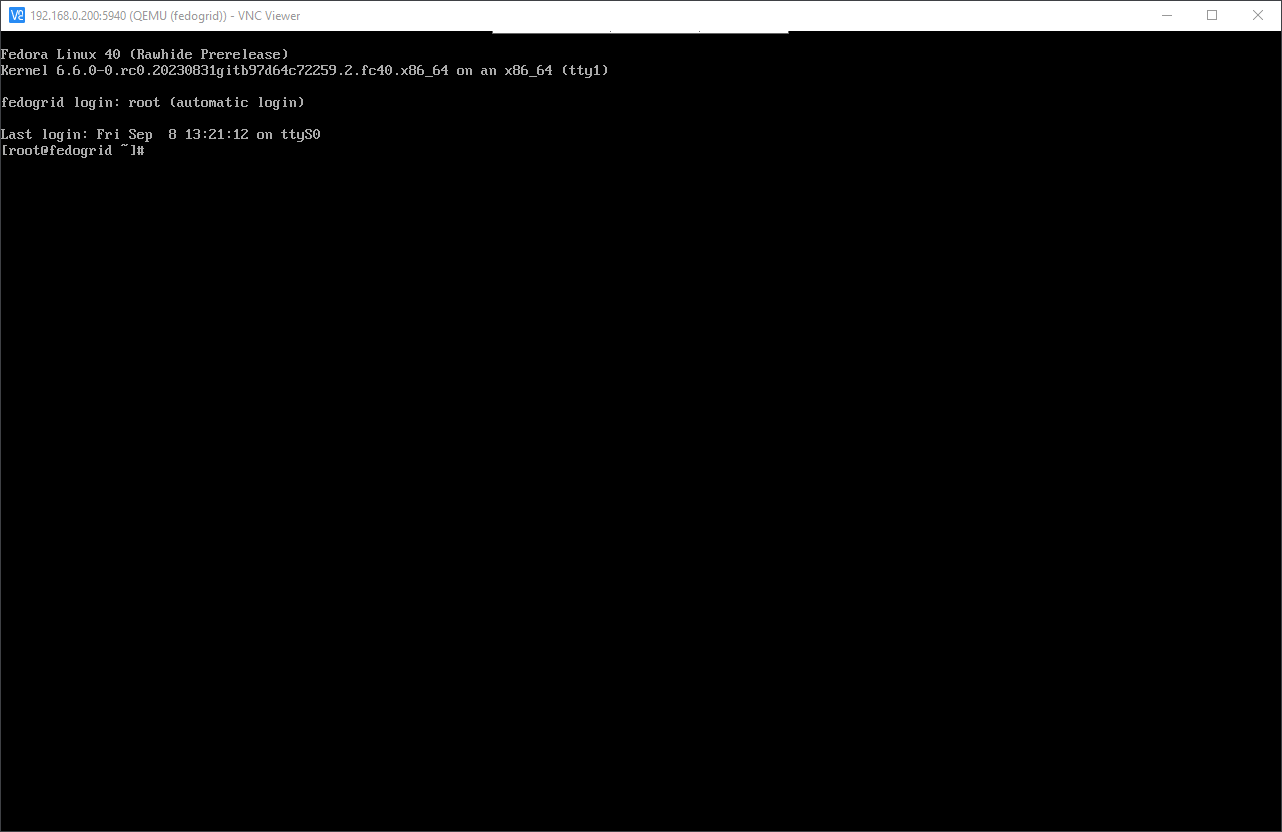
While connected to the display of the running virtual machine, wait for the virtual machine to boot up.
- STEP 8
Check the nature of the running operating system by executing the following command in the virtual machine shell.
# hostnamectl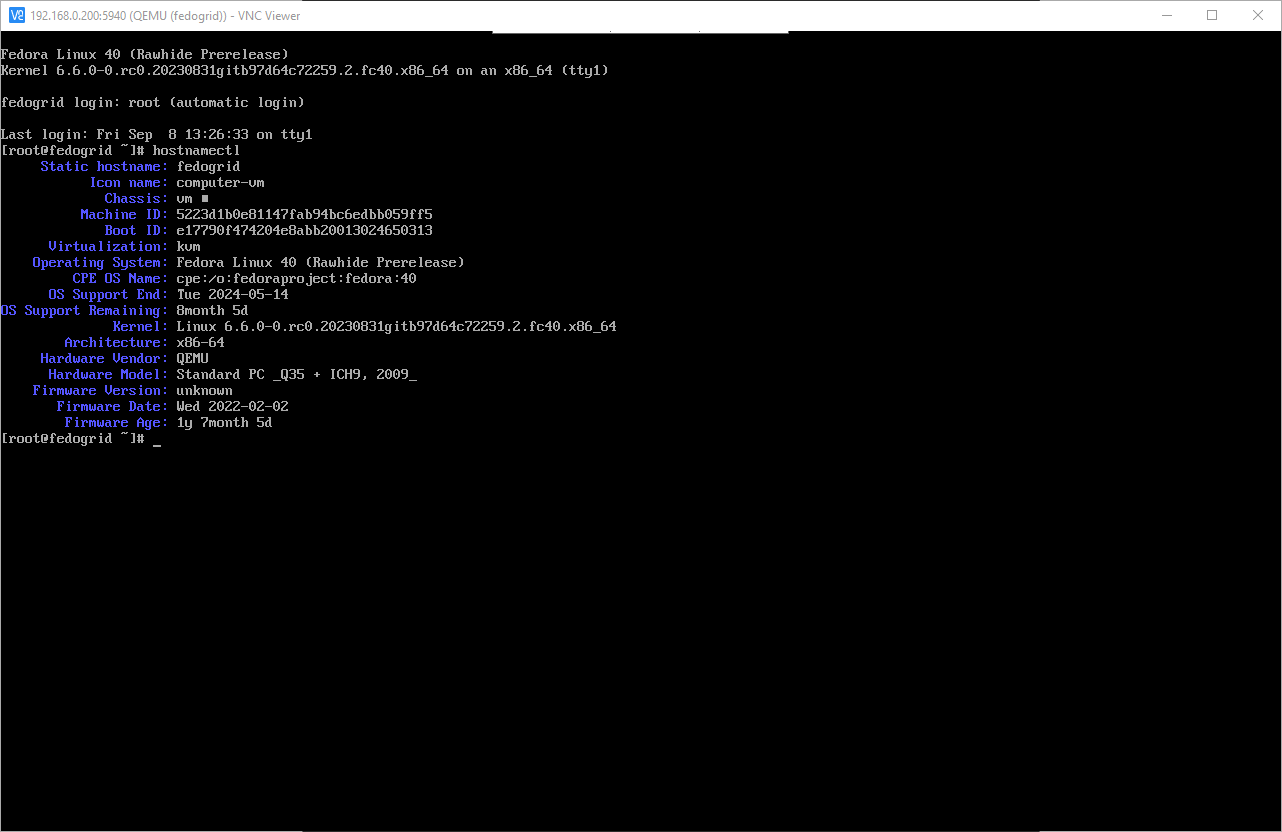
- STEP 9
Execute the following command in the virtual machine shell to show the current version of the kernel booted up.

- STEP 10
Play around with the virtual machine and then disconnect from the session by quitting the VNC client software. - STEP 11
Note that this will not shutdown the virtual machine but it can be terminated by executing this command on the host.
$ sudo virsh shutdown fedogrid- STEP 12
To unregister the virtual machine with the libvirt daemon, execute the following command on the host.
$ sudo virsh undefine fedogrid --nvramAs process
The following two methods can be used to run the generated operating system image as a virtual machine process.
Using internally available kernel and initramfs images
- STEP 1
Create a basic shell script file namedfedogrid-inkr.shfor the QEMU configuration using a text editor of your choice.
$ nano fedogrid-inkr.sh#!/bin/sh
qemu-system-x86_64 \
-boot menu=on \
-bios /usr/share/edk2/ovmf/OVMF_CODE.fd \
-cpu host \
-smp 4 \
-m 2048 \
-drive file=/home/virthost/projects/fedogrid/fedogrid_0.1.0.raw,format=raw \
-vnc 0.0.0.0:40,password=off \
-accel kvm \
-monitor stdio- STEP 2
Use Remmina (or any other VNC client software) to create a display session with the running virtual machine.

- STEP 3
Check the nature of the running operating system by executing the following command in the virtual machine shell.
# hostnamectl
- STEP 4
Execute the following command in the virtual machine shell to show the current version of the kernel booted up.
# uname -a
- STEP 5
Execute the following command in the virtual machine shell and take note of the UUID associated with the root partition.
# blkid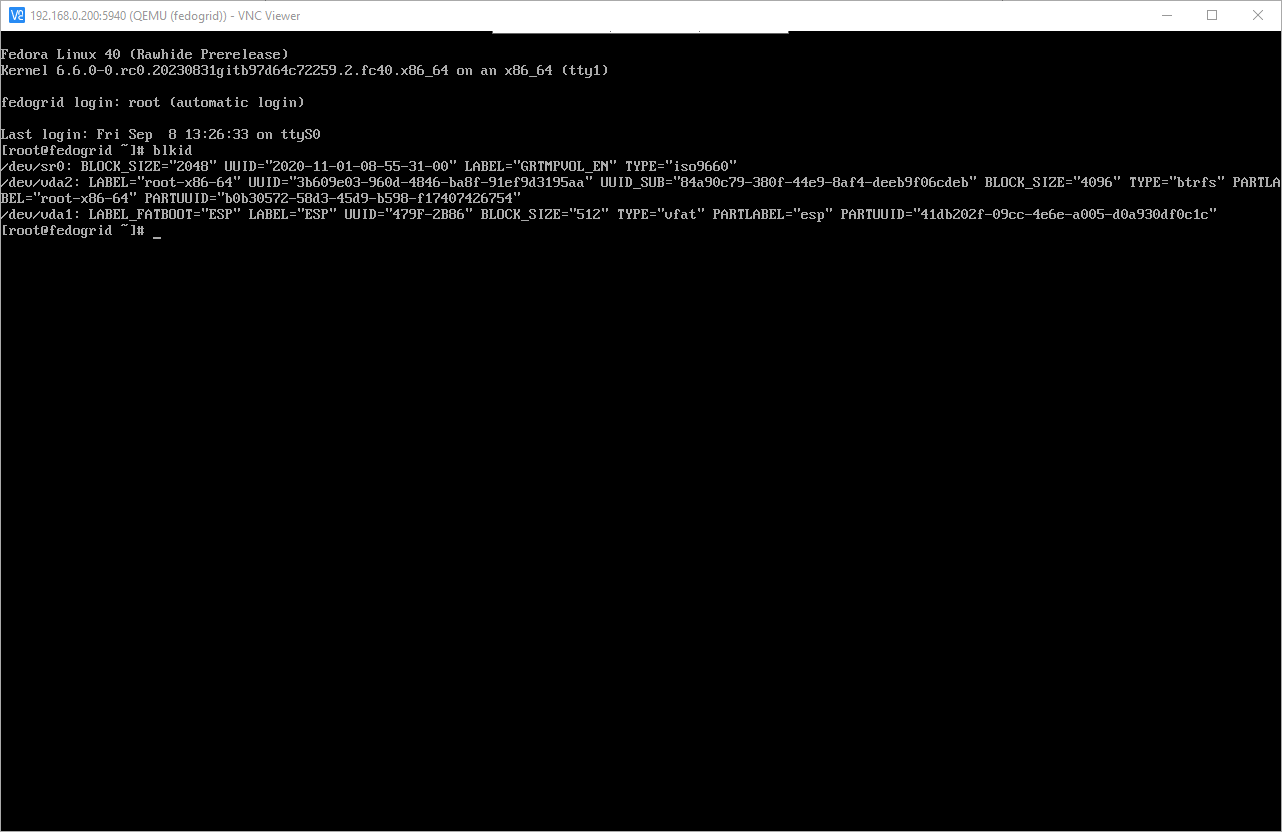
For example, here it is 3b609e03-960d-4846-ba8f-91ef9d3195aa- STEP 6
Play around with the virtual machine and then disconnect from the session by quitting the VNC client software. - STEP 7
Note that this will not cause shutdown but it can be terminated by executing the following command on the QEMU monitor.
QEMU 8.1.0 monitor - type 'help' for more information
(qemu) quit
Using externally provided kernel and initramfs images
- STEP 1
Create a basic shell script file namedfedogrid-exkr.shfor the QEMU configuration using a text editor of your choice.
$ nano fedogrid-exkr.sh#!/bin/sh
qemu-system-x86_64 \
-boot menu=on \
-bios /usr/share/edk2/ovmf/OVMF_CODE.fd \
-cpu host \
-smp 4 \
-m 2048 \
-drive file=/home/virthost/projects/fedogrid/fedogrid_0.1.0.raw,format=raw \
-kernel /home/virthost/projects/fedogrid/fedogrid_0.1.0.vmlinuz \
-initrd /home/virthost/projects/fedogrid/fedogrid-initrd_0.1.0.cpio.zst \
-append "root=UUID=3b609e03-960d-4846-ba8f-91ef9d3195aa rw console=ttyS0" \
-vnc 0.0.0.0:40,password=off \
-accel kvm \
-monitor stdio- STEP 2
Note that the UUID of the root partition that was previously taken note of was used in the above QEMU configuration.
For example, here it is 3b609e03-960d-4846-ba8f-91ef9d3195aa- STEP 3
Use Remmina (or any other VNC client software) to create a display session with the running virtual machine.

- STEP 4
Check the nature of the running operating system by executing the following command in the virtual machine shell.
# hostnamectl
- STEP 5
Execute the following command in the virtual machine shell to show the current version of the kernel booted up.
# uname -a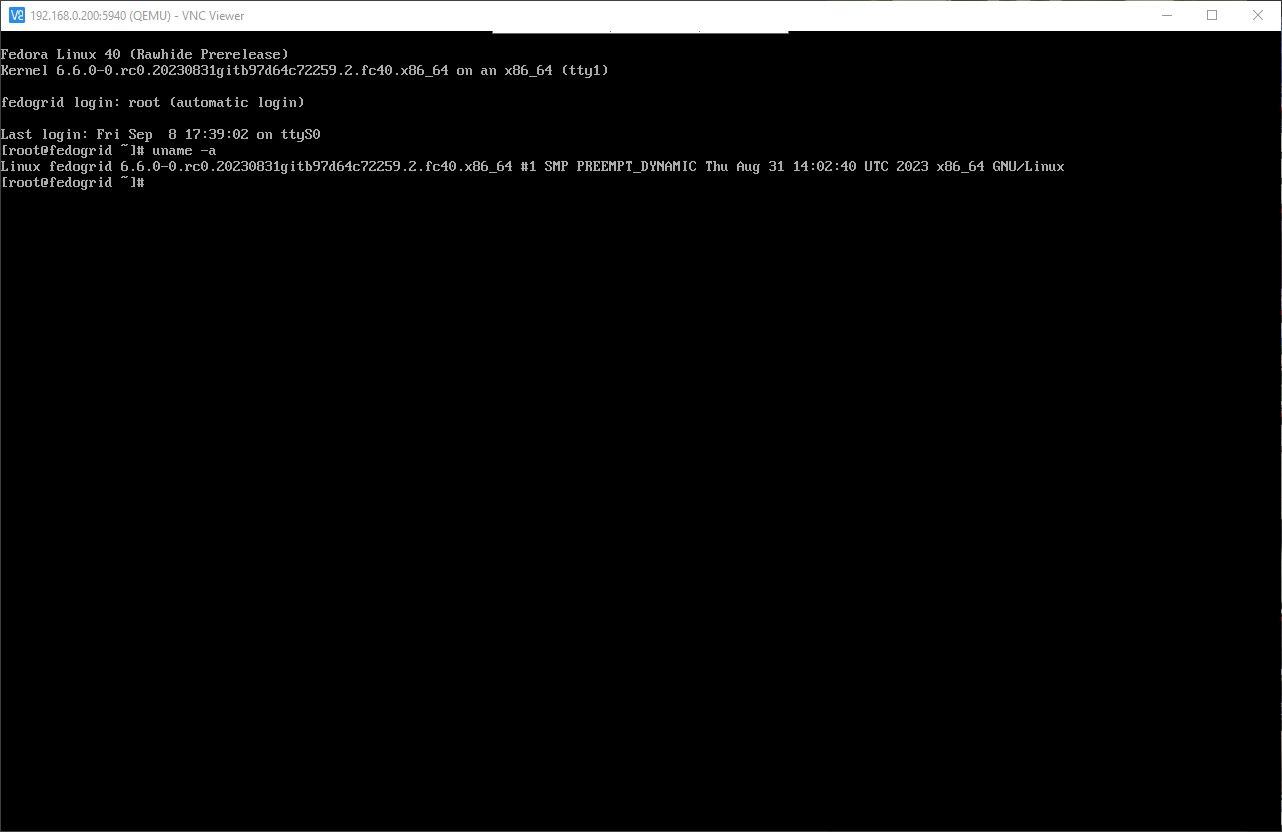
- STEP 6
Play around with the virtual machine and then disconnect from the session by quitting the VNC client software. - STEP 7
Note that this will not cause shutdown but it can be terminated by executing the following command on the QEMU monitor.
QEMU 8.1.0 monitor - type 'help' for more information
(qemu) quit
Outro
In the coming posts, I will write the same generated operating system image to a USB flash drive as well as a MicroSD card and try booting it up on baremetal hardware. Readers are encouraged to read up on QEMU, Libvirt and Virt-Install to achieve a better understanding of what these software are capable of doing.